Hello everybody,
So sorry for the recent hiatus from blogging but we have had some very serious illnesses in the family and that has taken all of our time and energy.
When we started to put in our veggie garden a few years ago we very quickly realized that our biggest challenge would be the perennial wildflowers (ahem, I mean weeds)!
They are unbelievable. You dig and dig and dig and back they still come. So, I decided to try to make less work for myself. We covered almost all of the veggie garden with newspaper, cardboard and tarps. The tarps have been on the garden for two years now. We recently had some killer winds here and the tarps were blowing all over the place. Hard as it is to believe, the weeds were growing underneath. Not strongly, but they are hanging on.
I have replaced all the tarps and have come to a decision that we will have to put in raised beds and cover the paths. That seems to be the only way to get the weeds under control. Here is a photo of the veggie garden and also one of the area that will become our strawberry patch this summer.


I know that there is a lot of expense involved in putting in the raised beds but I am planning to spread it out over a two year period. Some will go in this Spring, some this Fall and the rest next Spring. They will be filled with a mixture of good topsoil, compost and well rotted manure. The paths between will be covered with cardboard and then pea stone added on top. A lot of work to be sure but I think in the long term it is less work than spending all of my time battling weeds. You can get so frustrated that you eventually just give in and the mess becomes worse and worse.
There is one small area of the garden that we have been working on for about four years now and it is somewhat weed free. We planted out garlic there last fall and they are now up and growing and look just great. I think you can just see the little green shoots in this photo.

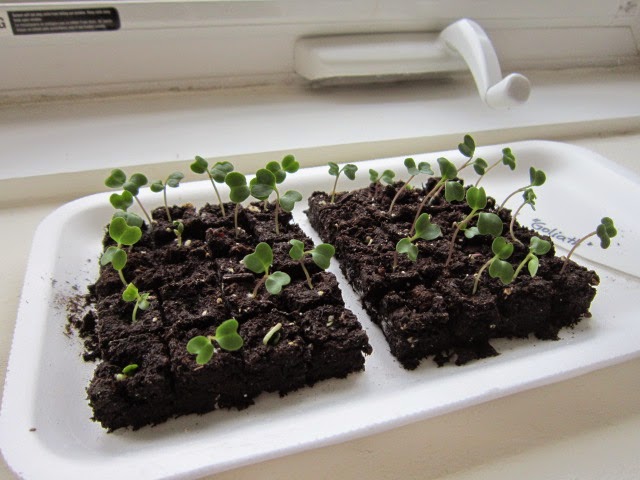
And lastly, here is a shot of the little broccoli, kale and kohlrabi plants. They have now moved into cell packs where they will stay until they go into the garden. They are getting bigger and stronger every day. I place them outside for most of the day now so they are getting natural sunlight but still bring them inside at night as we are still below zero here.

Well, we are all caught up with news for now so I will say thank you for stopping by and have a great day. Cheers.
So sorry for the recent hiatus from blogging but we have had some very serious illnesses in the family and that has taken all of our time and energy.
When we started to put in our veggie garden a few years ago we very quickly realized that our biggest challenge would be the perennial wildflowers (ahem, I mean weeds)!
They are unbelievable. You dig and dig and dig and back they still come. So, I decided to try to make less work for myself. We covered almost all of the veggie garden with newspaper, cardboard and tarps. The tarps have been on the garden for two years now. We recently had some killer winds here and the tarps were blowing all over the place. Hard as it is to believe, the weeds were growing underneath. Not strongly, but they are hanging on.
I have replaced all the tarps and have come to a decision that we will have to put in raised beds and cover the paths. That seems to be the only way to get the weeds under control. Here is a photo of the veggie garden and also one of the area that will become our strawberry patch this summer.
I know that there is a lot of expense involved in putting in the raised beds but I am planning to spread it out over a two year period. Some will go in this Spring, some this Fall and the rest next Spring. They will be filled with a mixture of good topsoil, compost and well rotted manure. The paths between will be covered with cardboard and then pea stone added on top. A lot of work to be sure but I think in the long term it is less work than spending all of my time battling weeds. You can get so frustrated that you eventually just give in and the mess becomes worse and worse.
There is one small area of the garden that we have been working on for about four years now and it is somewhat weed free. We planted out garlic there last fall and they are now up and growing and look just great. I think you can just see the little green shoots in this photo.
And lastly, here is a shot of the little broccoli, kale and kohlrabi plants. They have now moved into cell packs where they will stay until they go into the garden. They are getting bigger and stronger every day. I place them outside for most of the day now so they are getting natural sunlight but still bring them inside at night as we are still below zero here.
Well, we are all caught up with news for now so I will say thank you for stopping by and have a great day. Cheers.